Zelda: Tears of the Kingdom Misko's Treasure locations
Emulate the most stylish bandit Hyrule has ever seen with Misko's Treasure!

In The Legend of Zelda: Tears of the Kingdom, the legendary bandit Misko was as well known for their impeccable fashion sense as their thievery, eventually hiding their amazing collection of clothing across the land for intrepid fashionistas to find.
But the best part of Misko’s Treasure is that many of the clothes have great functionality as well as a chic look, offering Link an array of bonuses to all sorts of abilities.
These include increasing his climbing speed, raising his attack power and reducing the damage dealt by shock-based attacks.
Here’s where to find the items marked as part of Misko’s Treasure all around Central Hyrule.
Misko's Treasure: Where to find the climbing gear

Head northwest from Lookout Landing towards Hyrule Ridge. When you reach New Serenne Stable, head slightly east to North Hyrule Plain Cave.
Inside the tunnel you find two Like-Like. To defeat them, you need to shoot an arrow at their exposed core when it’s visible, then continue to hit it once they’re stunned.
This is easier to do with bomb flower arrows. But it’s just as valid to ignore them completely and run past. Either way, use Ascend to reach the top of the platform the second Like-Like was stuck to.
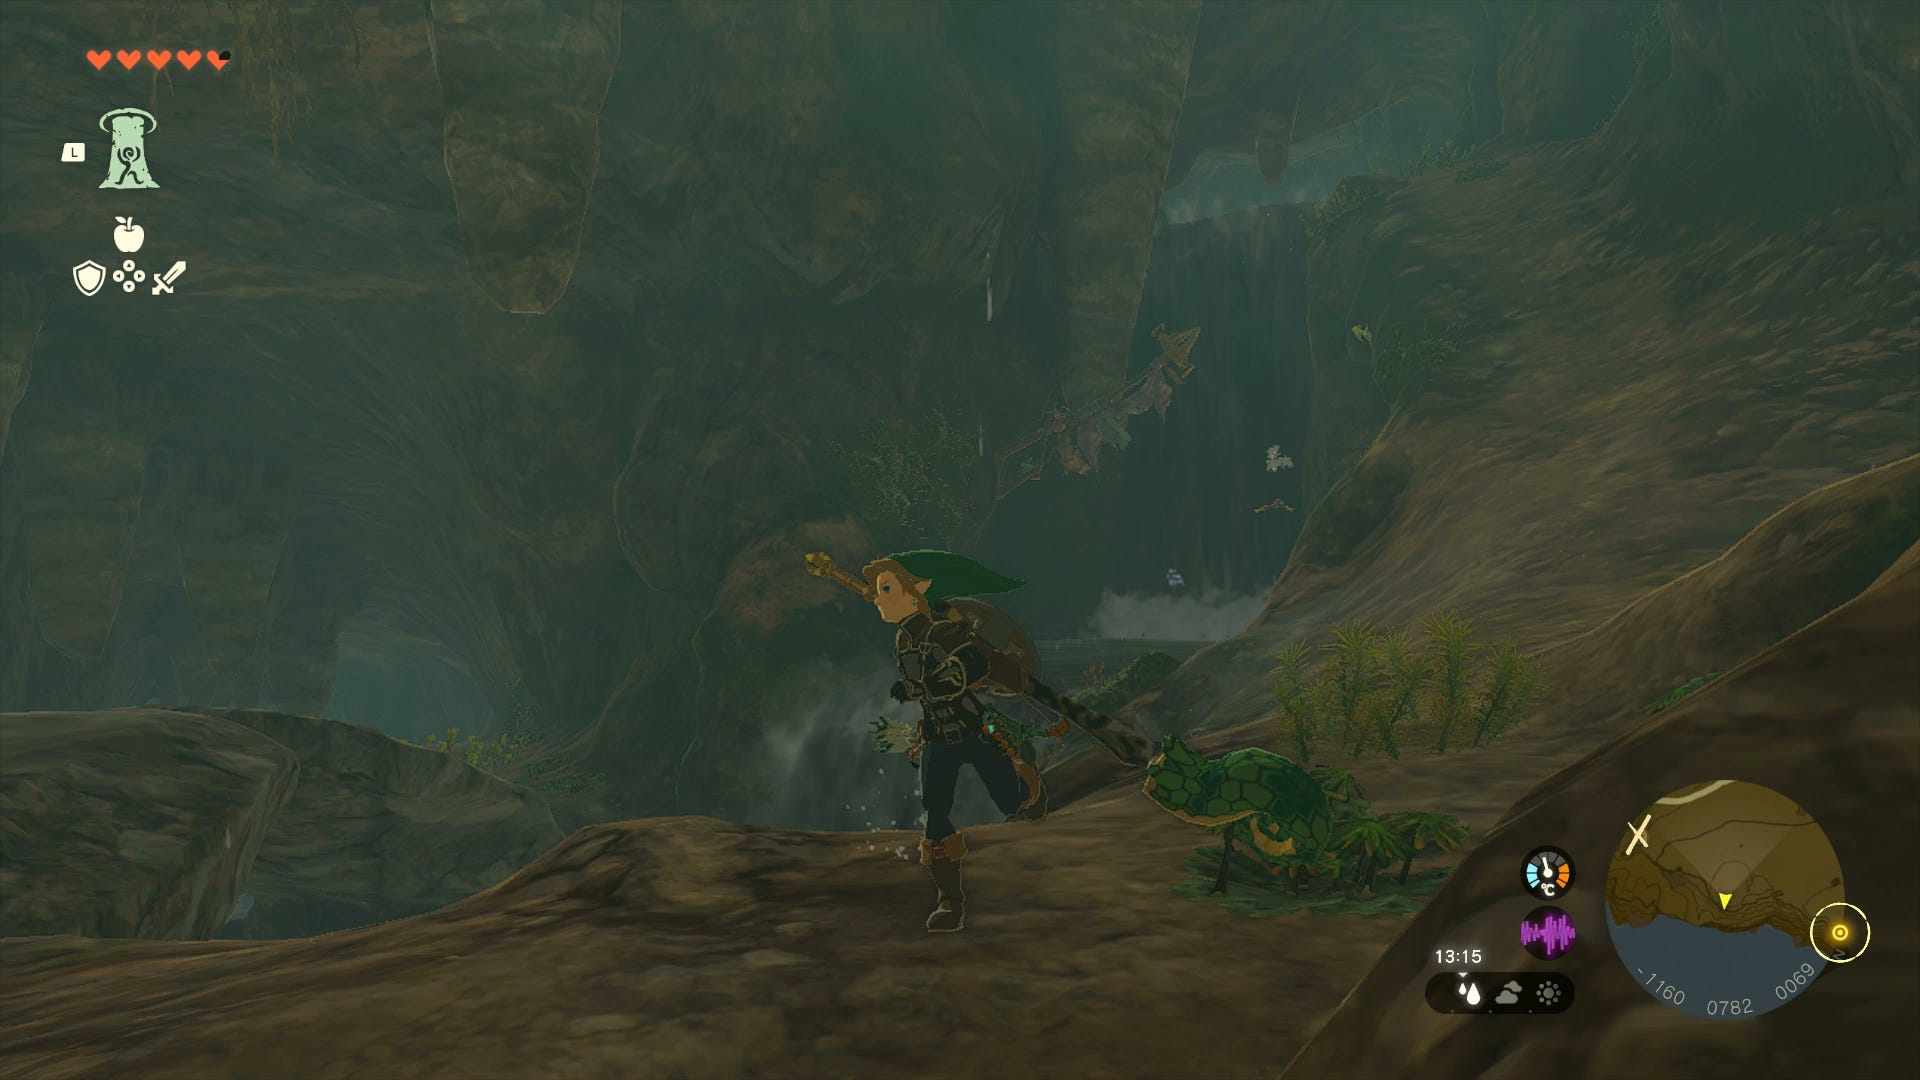
Walk or swim along the tunnel until you reach a steep turn with a waterfall. The chest your looking for is behind the waterfall.
Misko's Treasure: Where to find the shock-resistant outfit
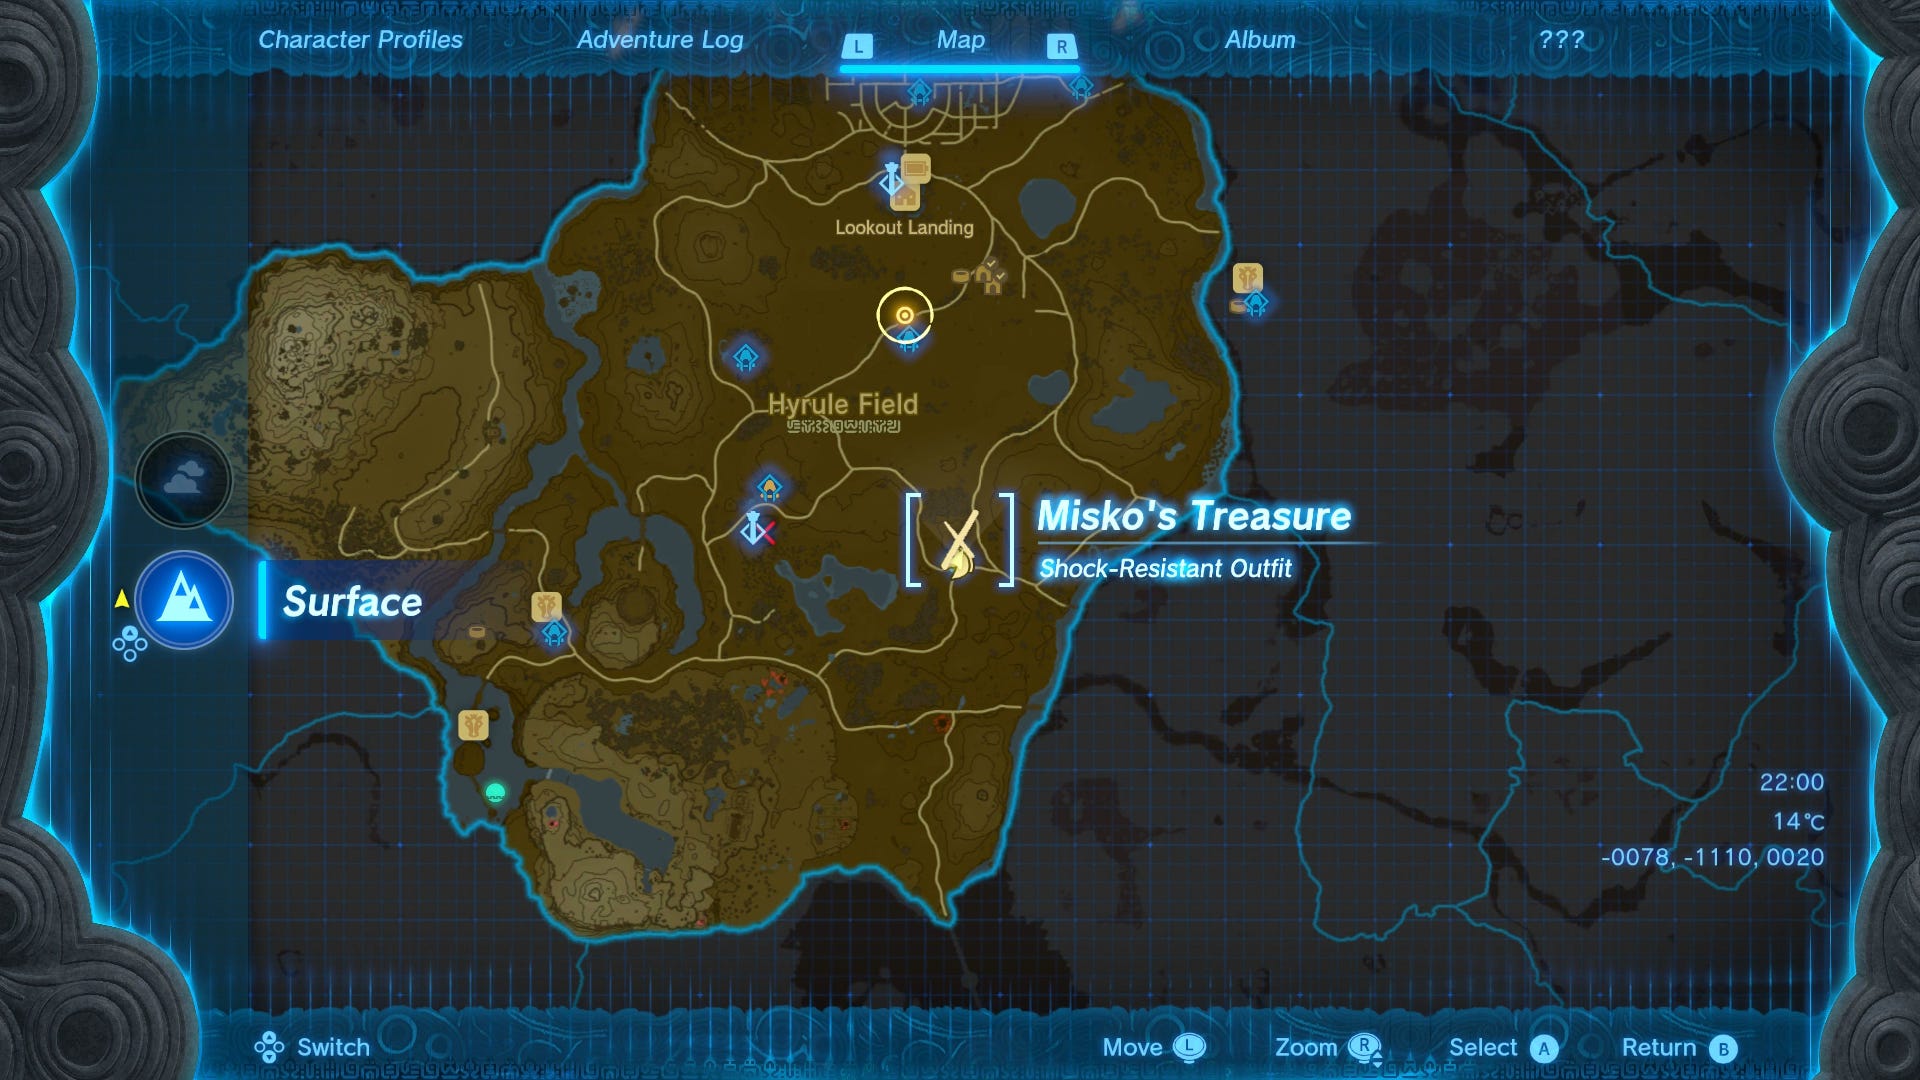
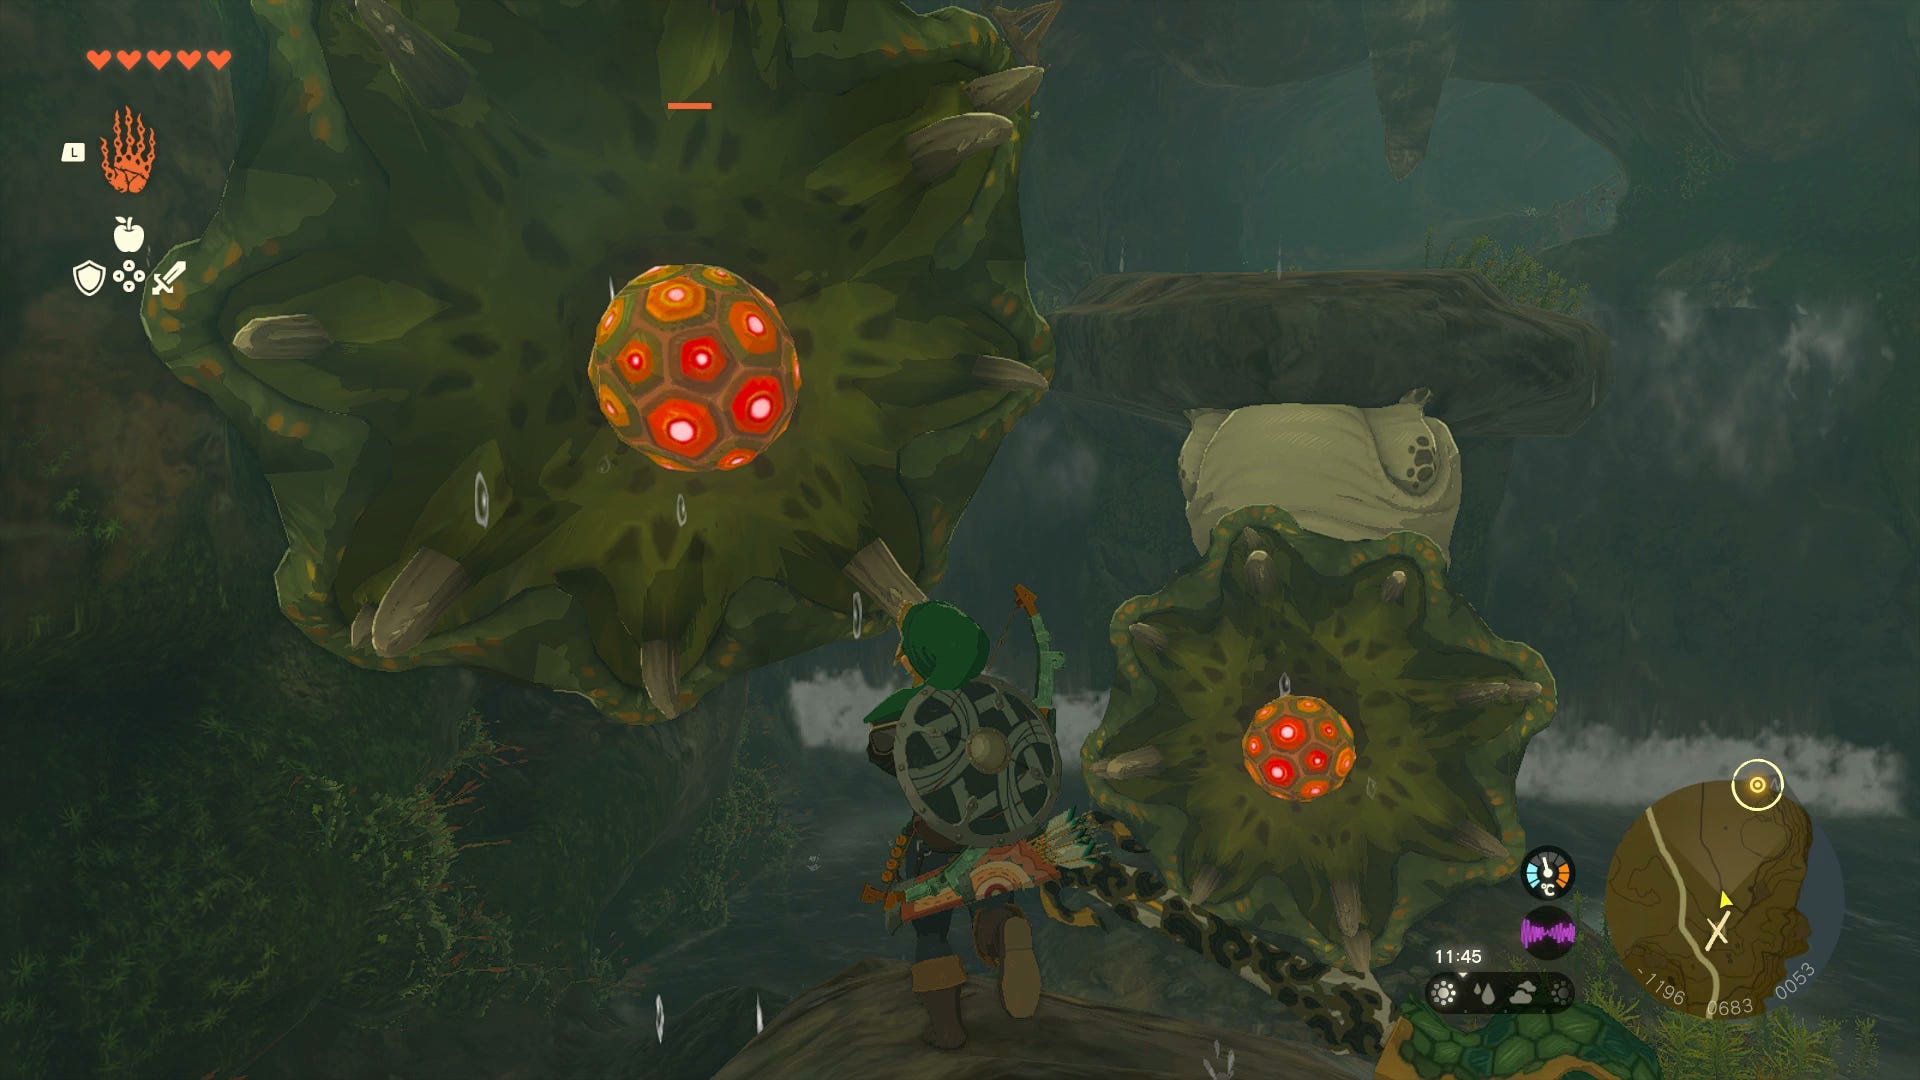
For the shock-resistant outfit, make your way to the southeast of Hyrule field and enter Whistling Hill Cave.
Inside, defeat the flying Keese and drop down into the next cavern. Take out the second wave of Keese, then destroy the loose rocks on your left with a bomb or rock hammer.
There’s a good selection of gem rocks inside to plunder.
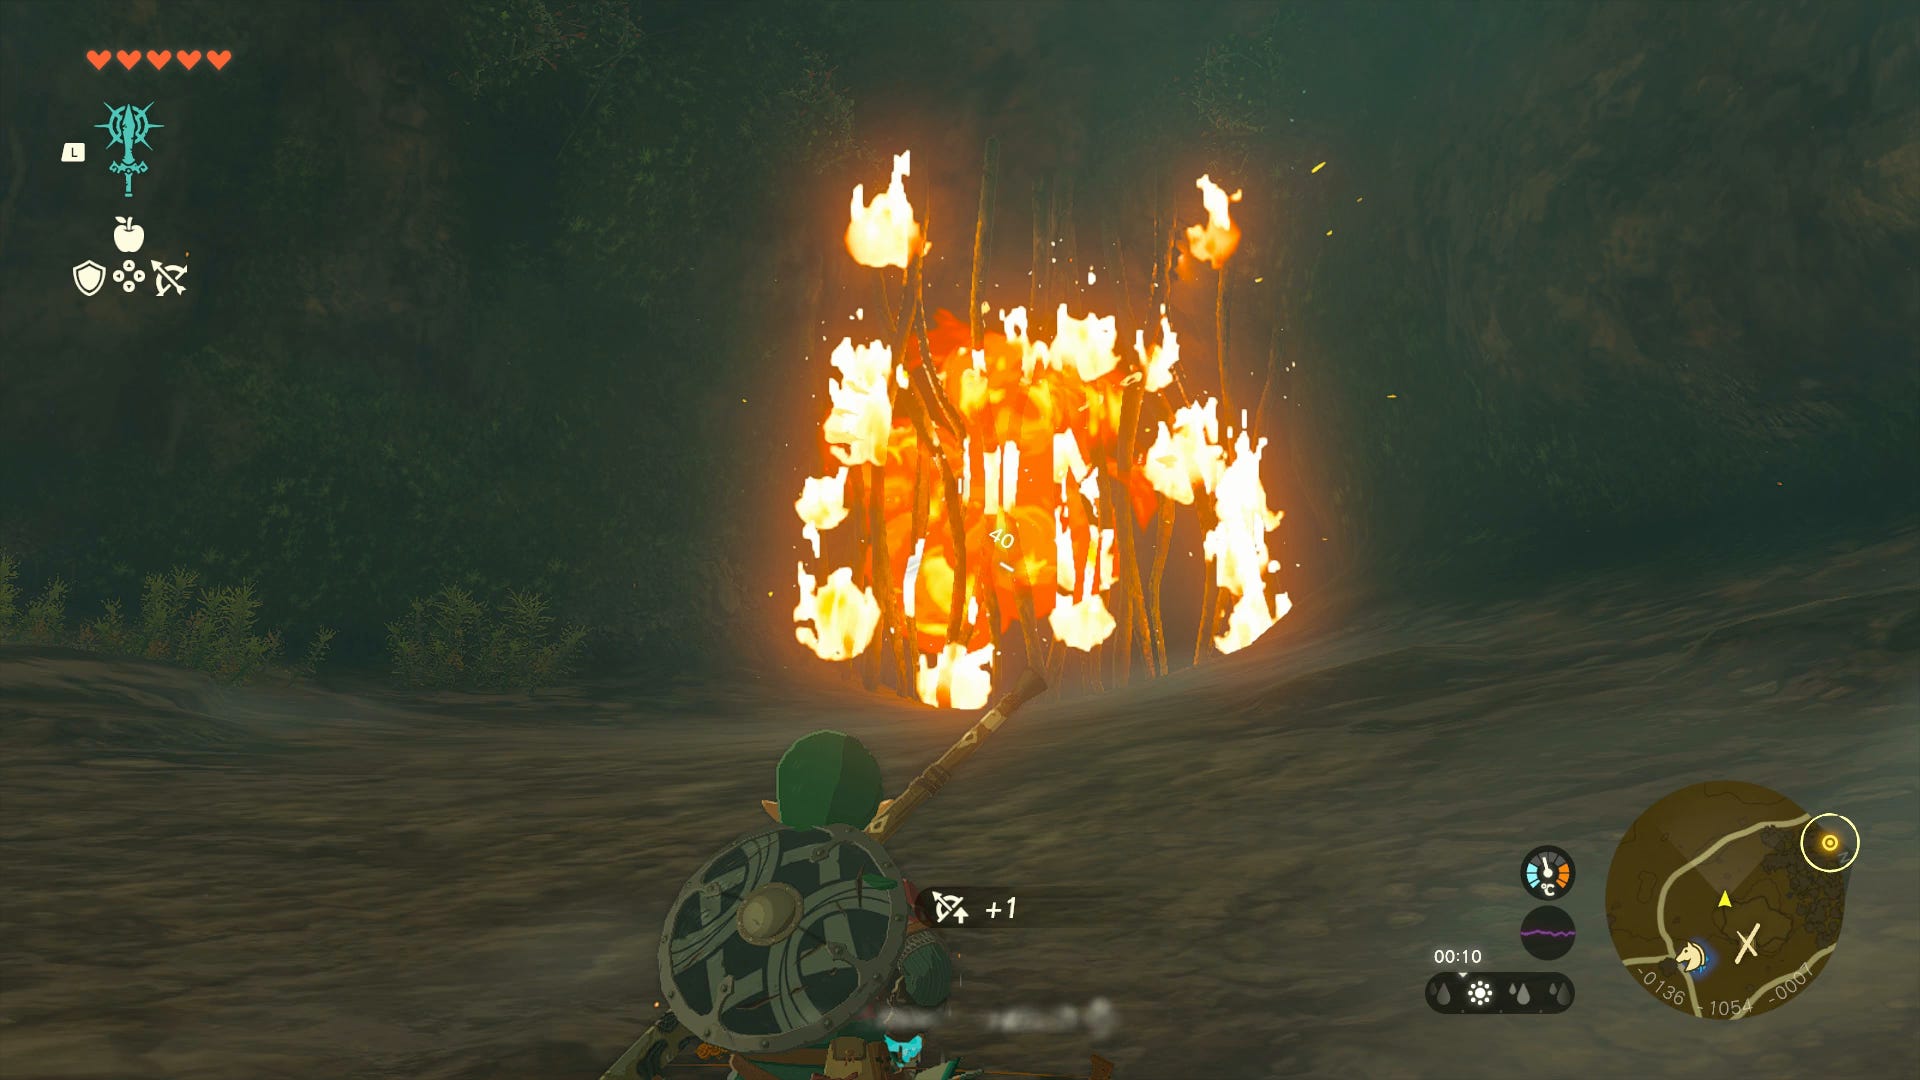
Next, turn your attention to the vines on the other side of the cave. Attach a fire fruit to an arrow and shoot them to burn the vines away.
Do the same with the next wall of vines and drop down afterwards.
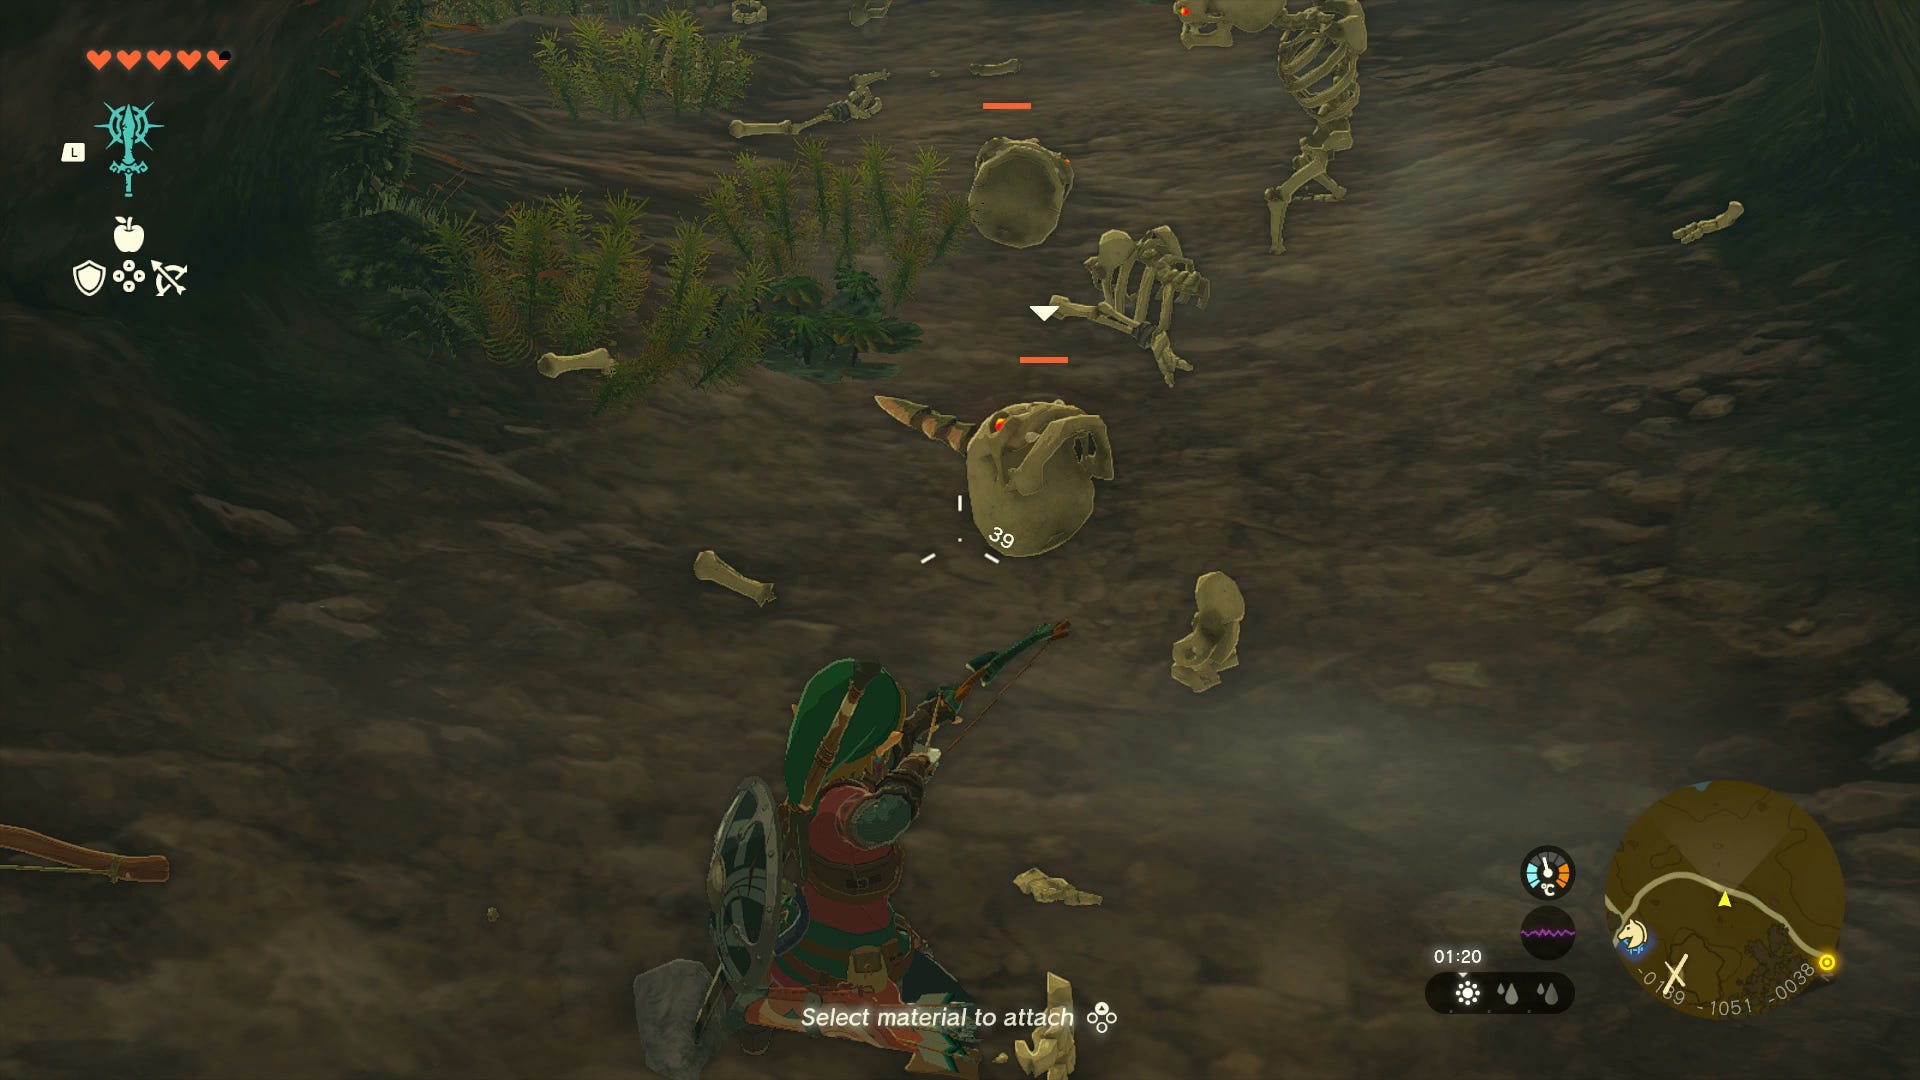
Defeat the skeleton Bokoblins at the bottom by knocking off their heads and scoring another hit on them while they roll across the ground.
In the next cavern, up on your left is another set of vines to burn. There’s a chest behind here with a shield inside. However, your target is another tunnel on the other side of the cave. Use Ascend or climb up the wall to reach its ledge.
At the end of this tunnel is a Stone Like-Like firing rocks at you.
The easiest way to deal with it is by using Bomb Flowers to break away its rocky shield, then striking its exposed core.
After spitting three rocks it will expose its core, allowing you to shoot it with an arrow to stun the Like-Like and score some more hits.

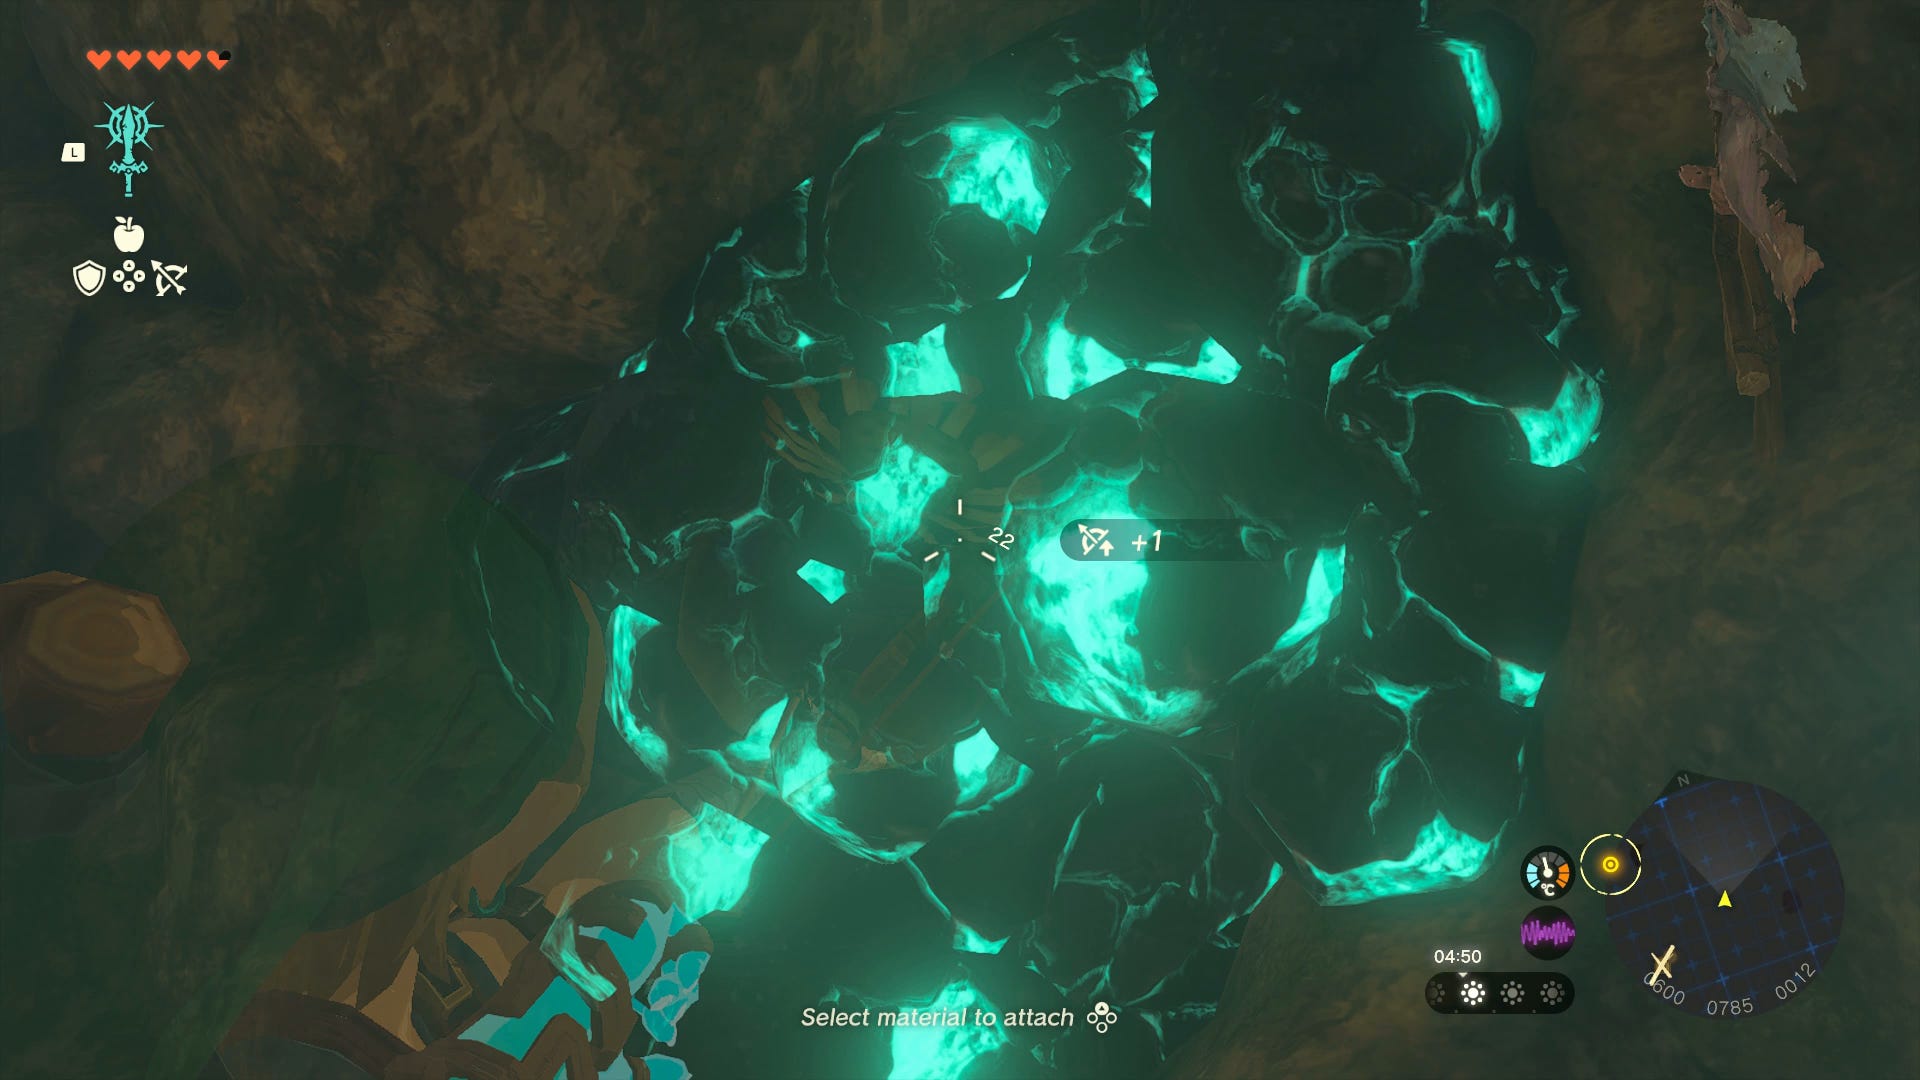
When it’s defeated, continue into the next cave and destroy the loose rocks on the back wall. Inside is another Like-Like that you defeat in the same way, just it shoots electricity this time.
Finally, once that’s dealt with, there’s a final pile of cracked rocks the Like-Like was guarding to destroy. This leads to a small tent where you can collect the shock-resistant rubber top.
Misko's Treasure: Where to find the barbarian top
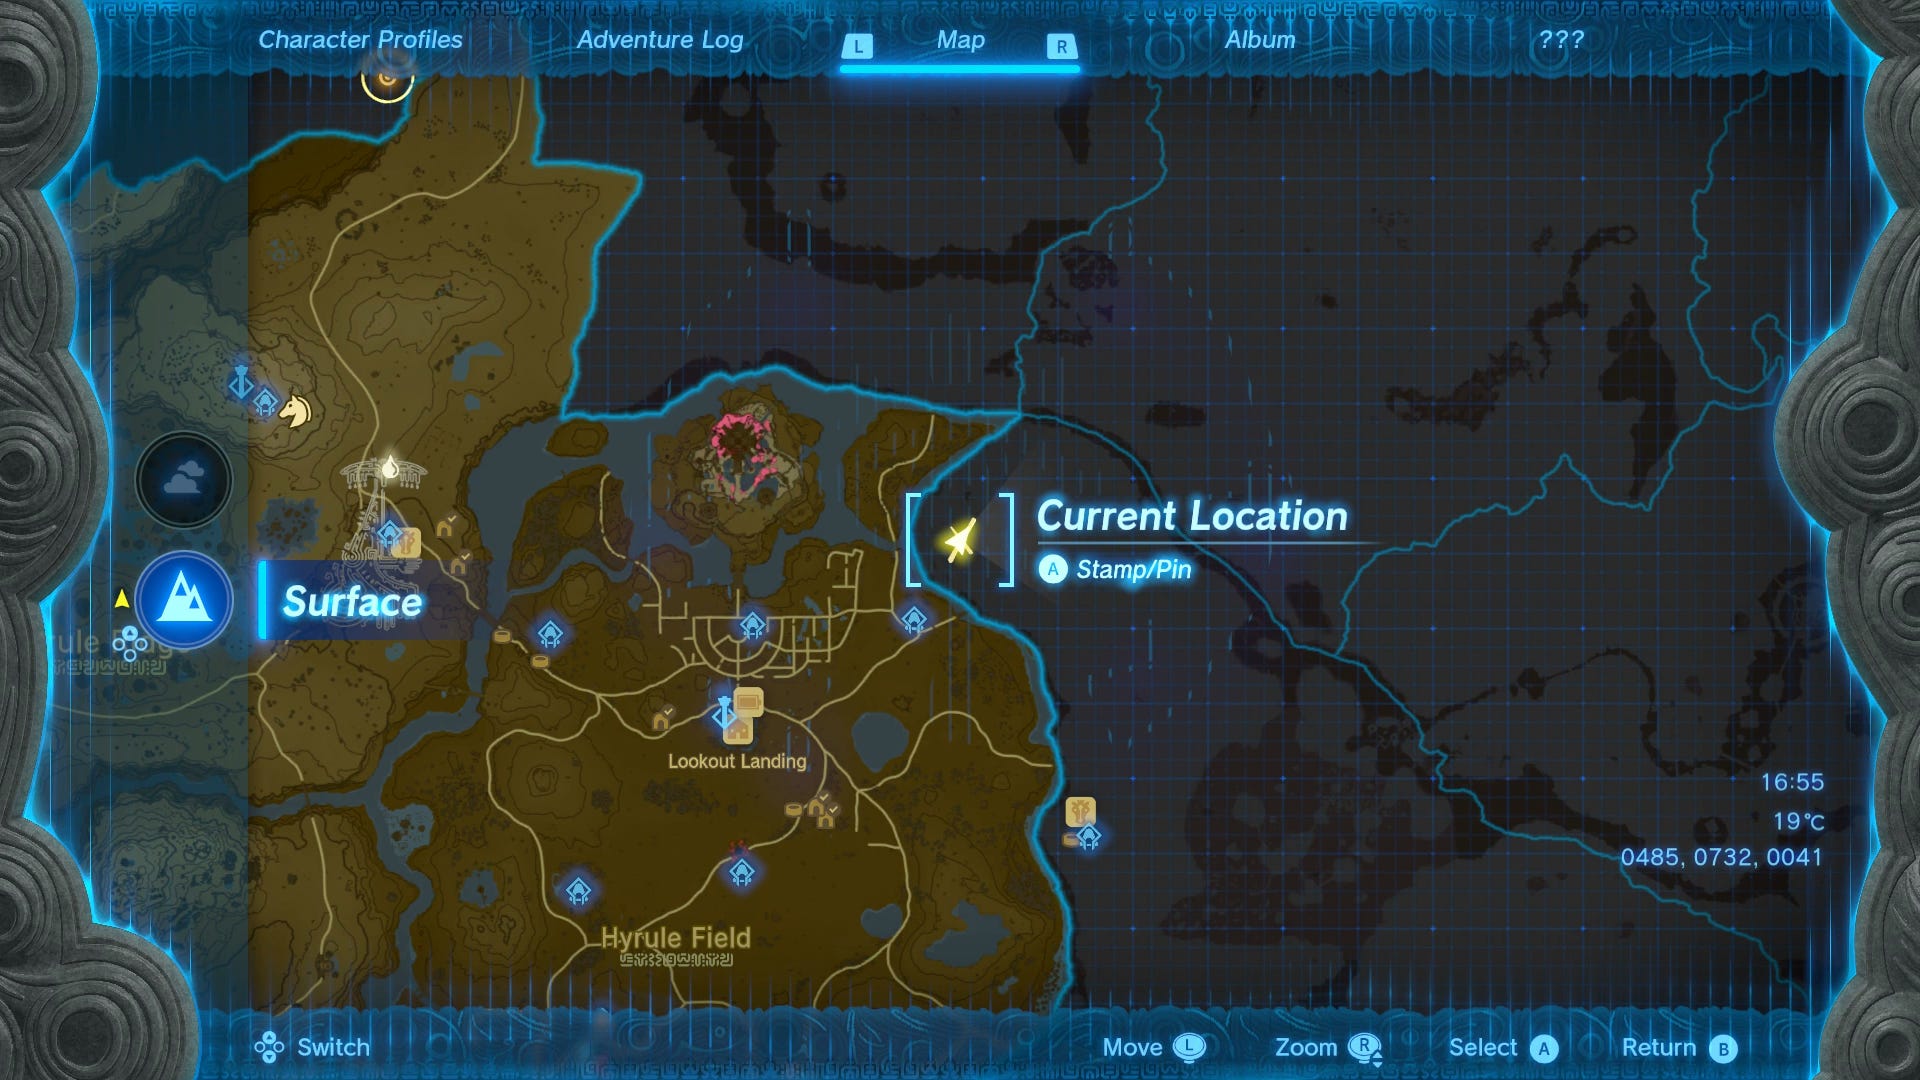
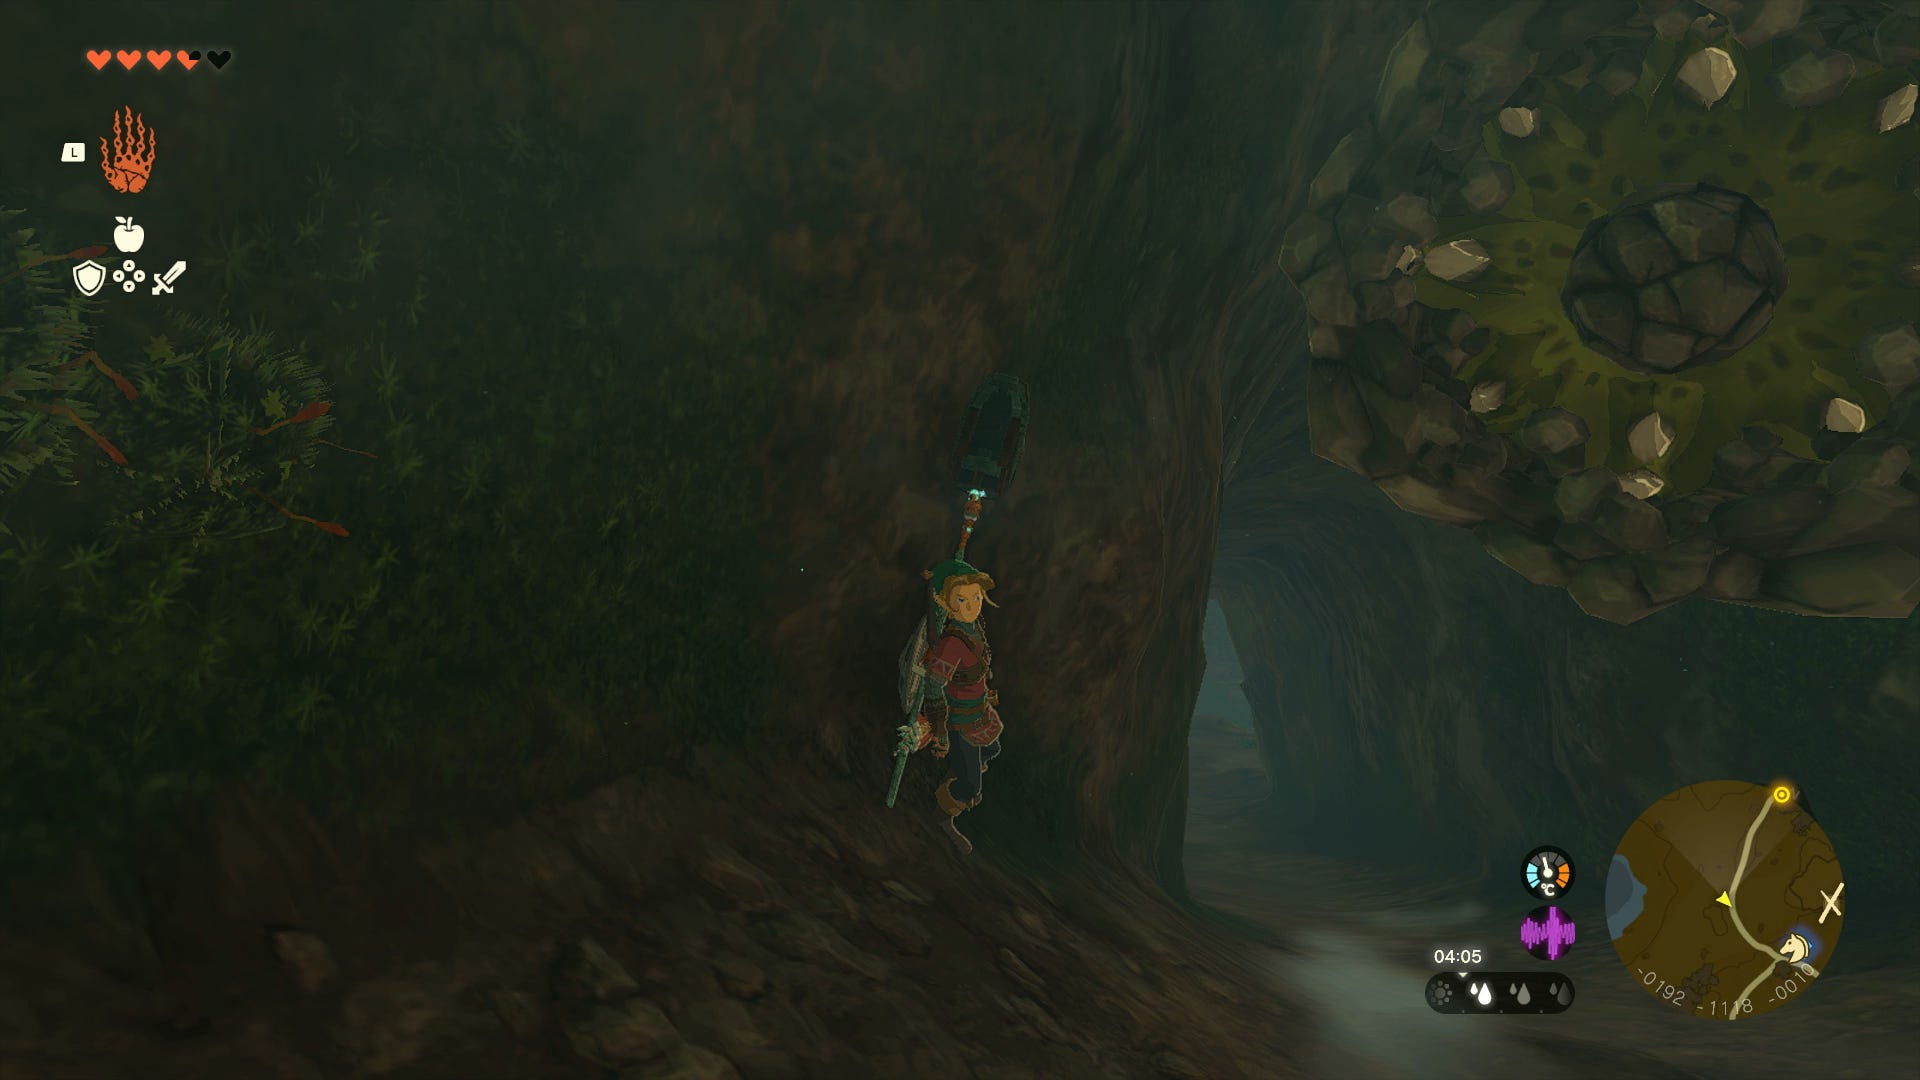
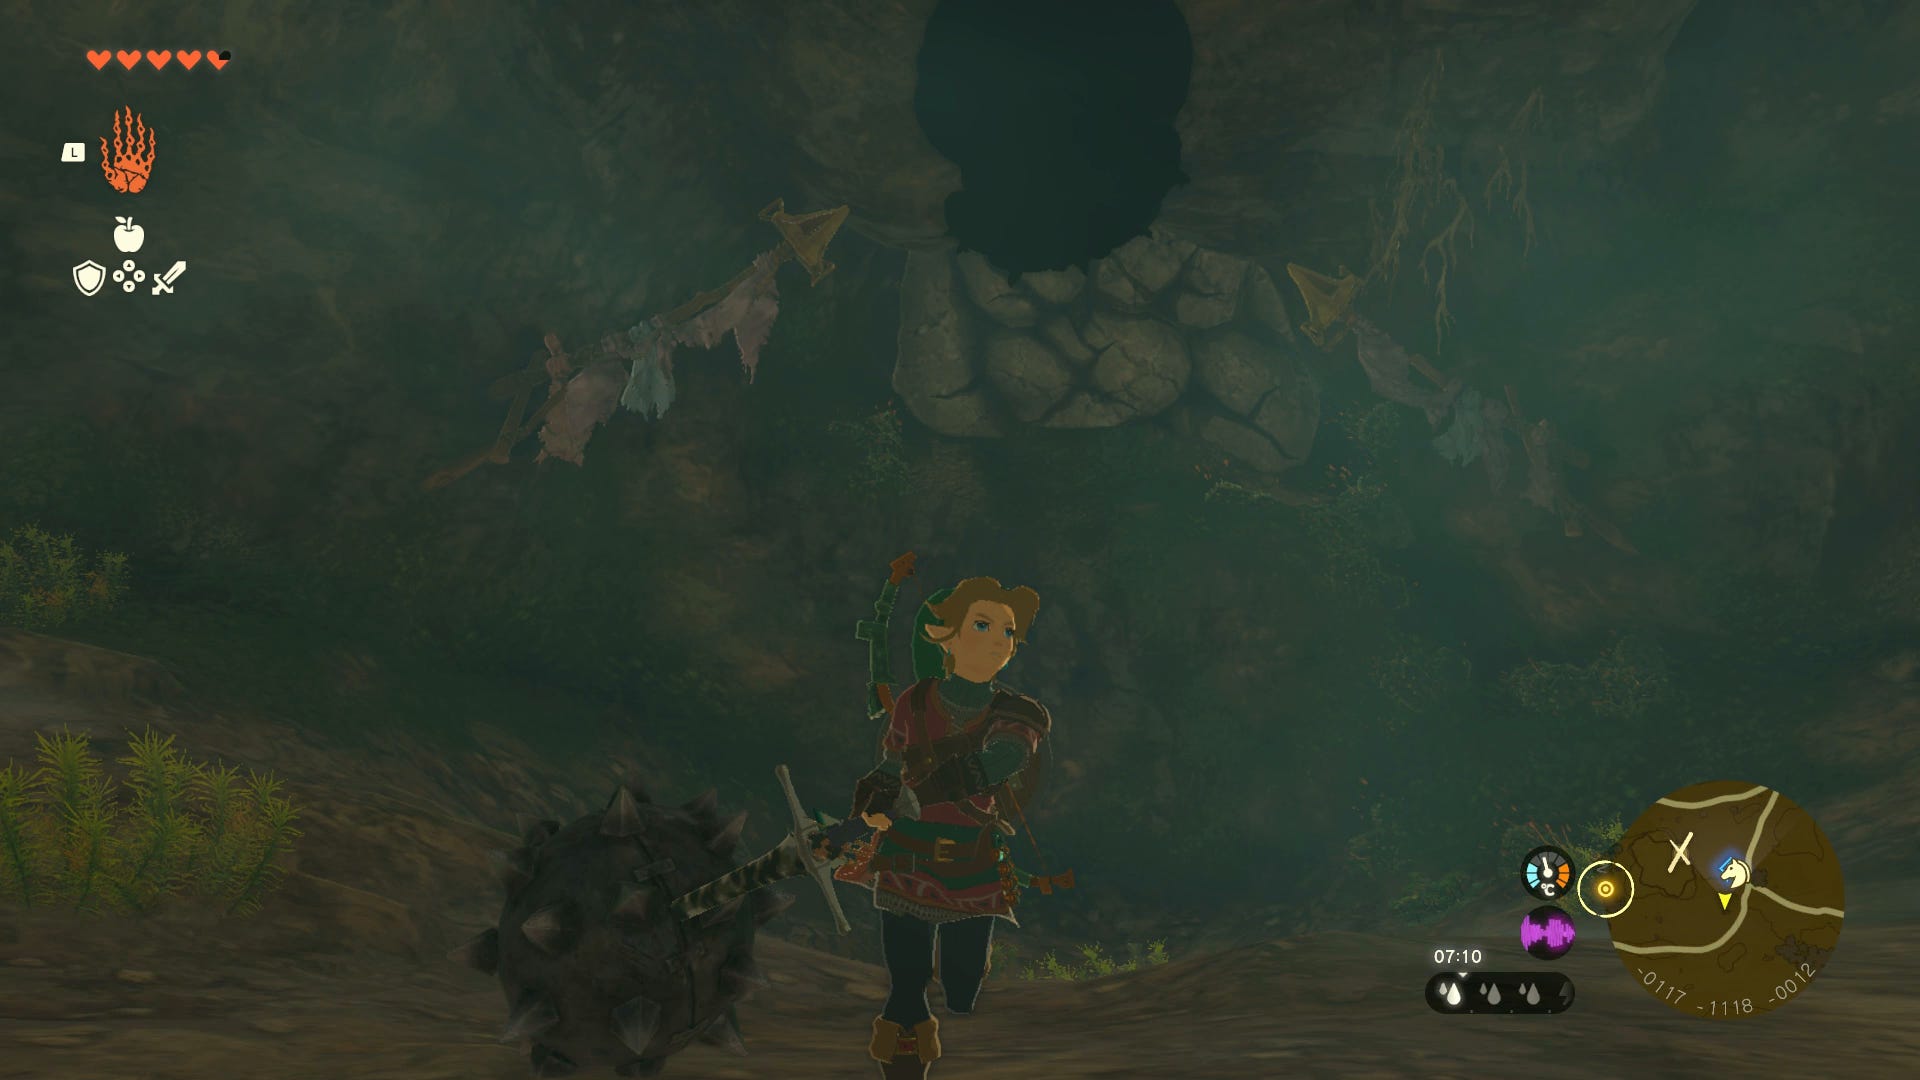
Finally, to grab the attack-raising top make your way east to the Crenel Hills cave.
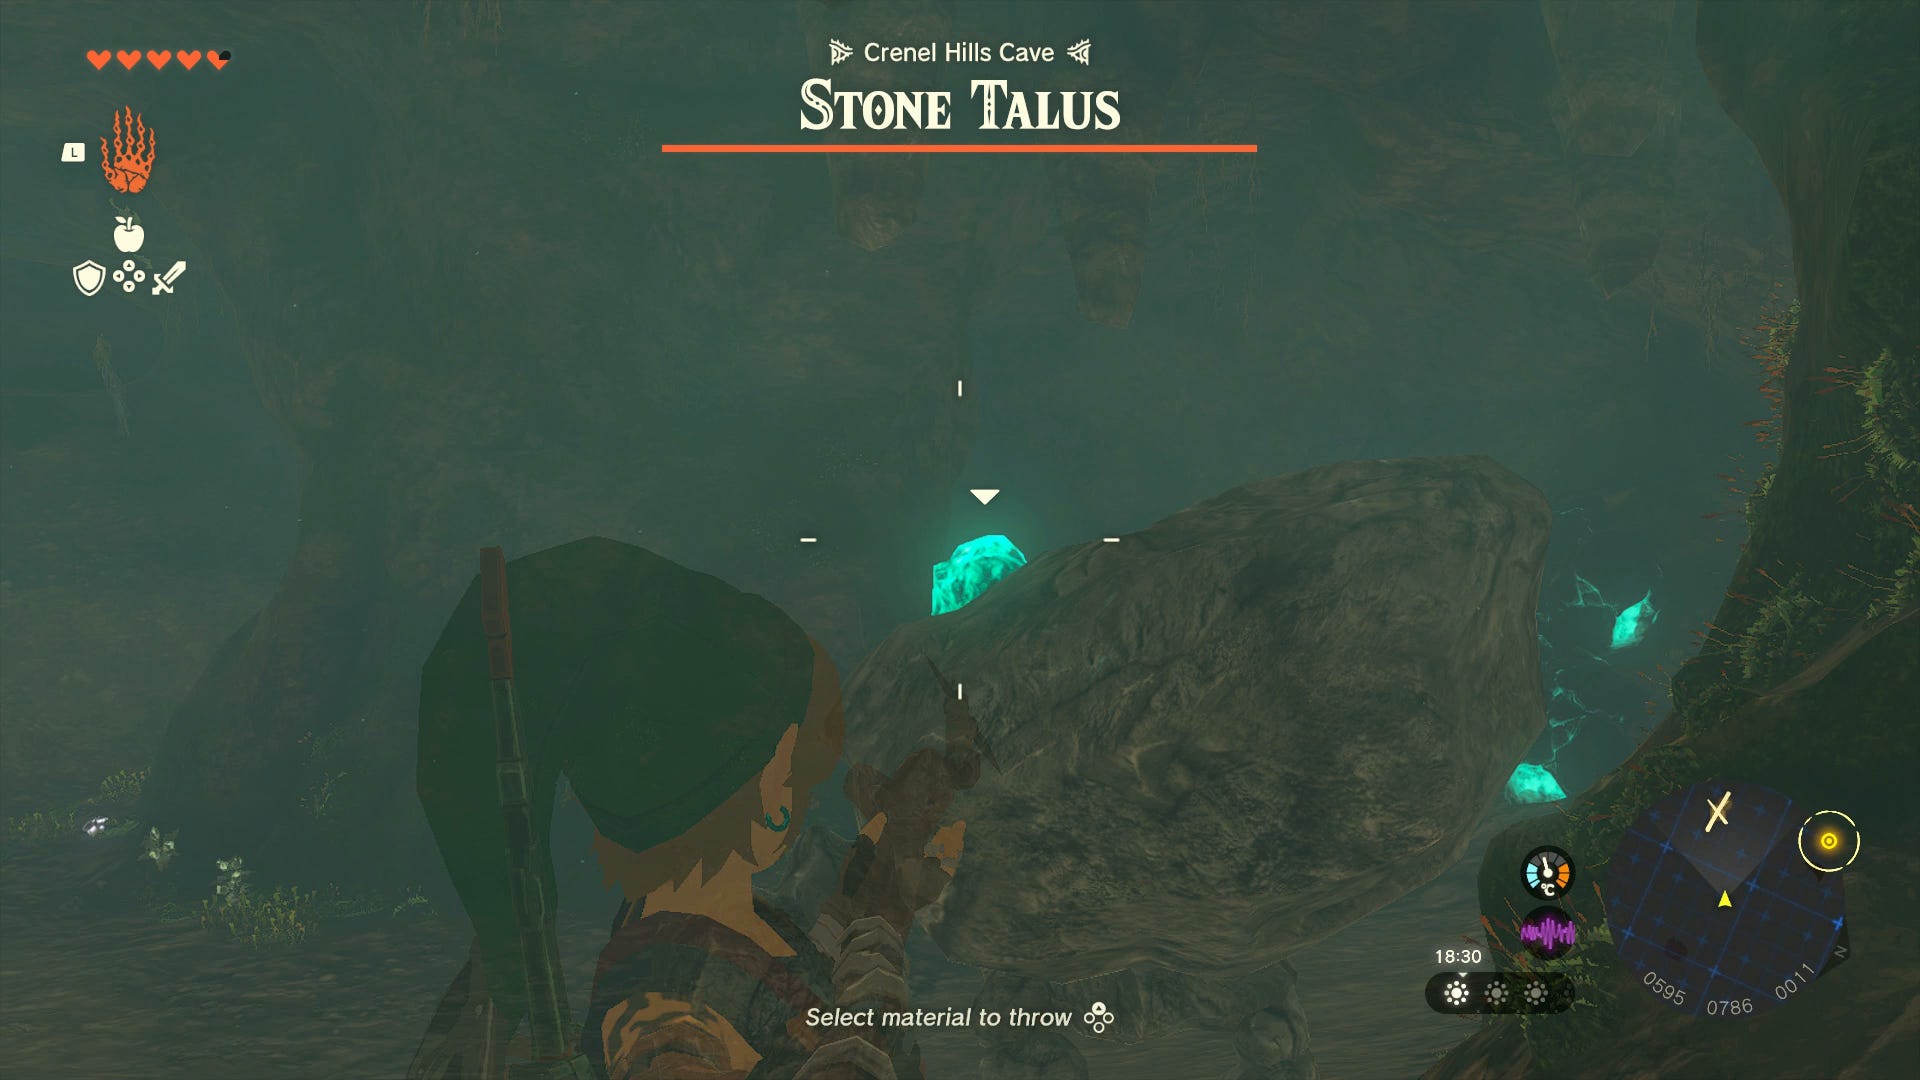
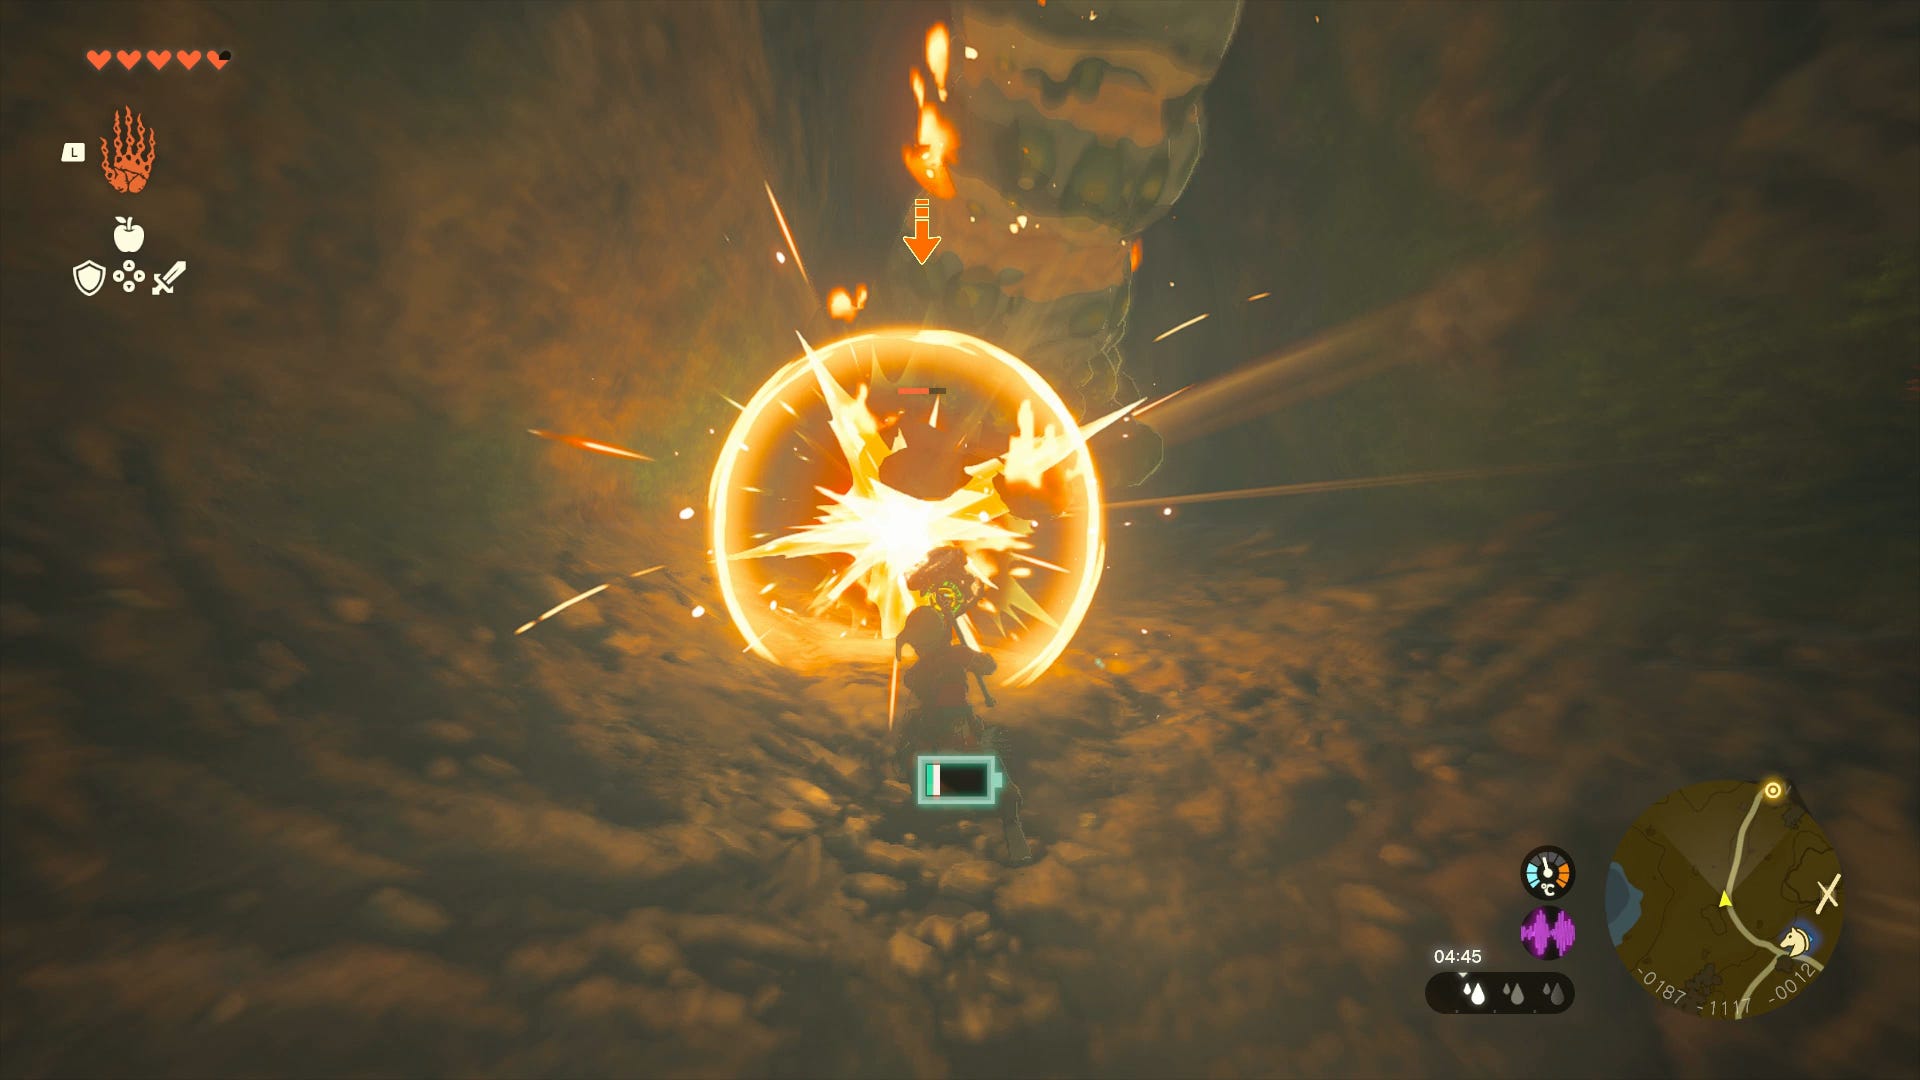
Head into the central chamber and defeat the Stone Talus inside. Either hit its luminous stone outcrop with arrows and thrown objects or clamber up onto its head when it bends over to replenish its thrown arms.
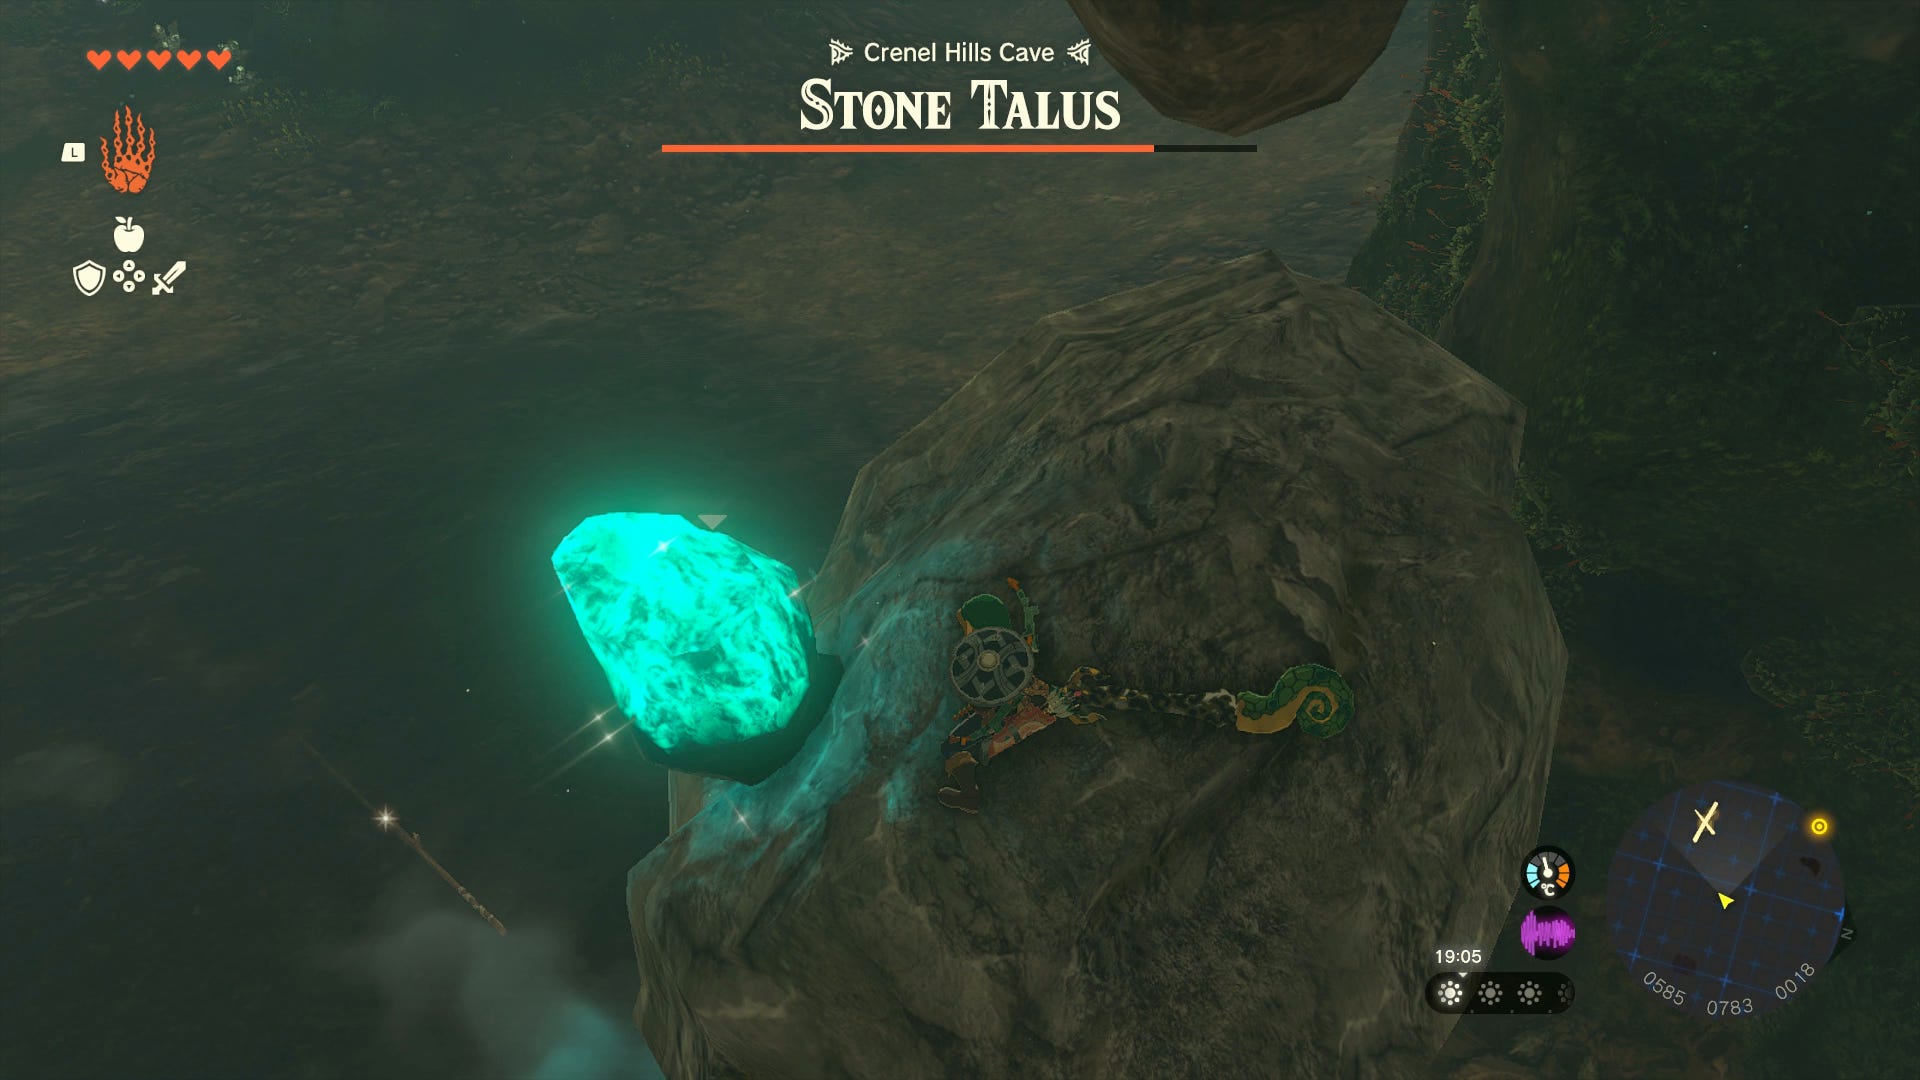
You can also get onto its head by climbing the walls of the cave and gliding down, although this can be finicky.
Once it’s dealt with, destroy the large outcrop of luminous stones on the north wall of the cave with a bomb flower arrow or hammer. This reveals a tunnel with the tent containing the Barbarian top inside.
Other Misko's Treasure locations
Outside of these original three, there are many more side quests to embark on to find more of Misko's treasure. We'll list them below: